
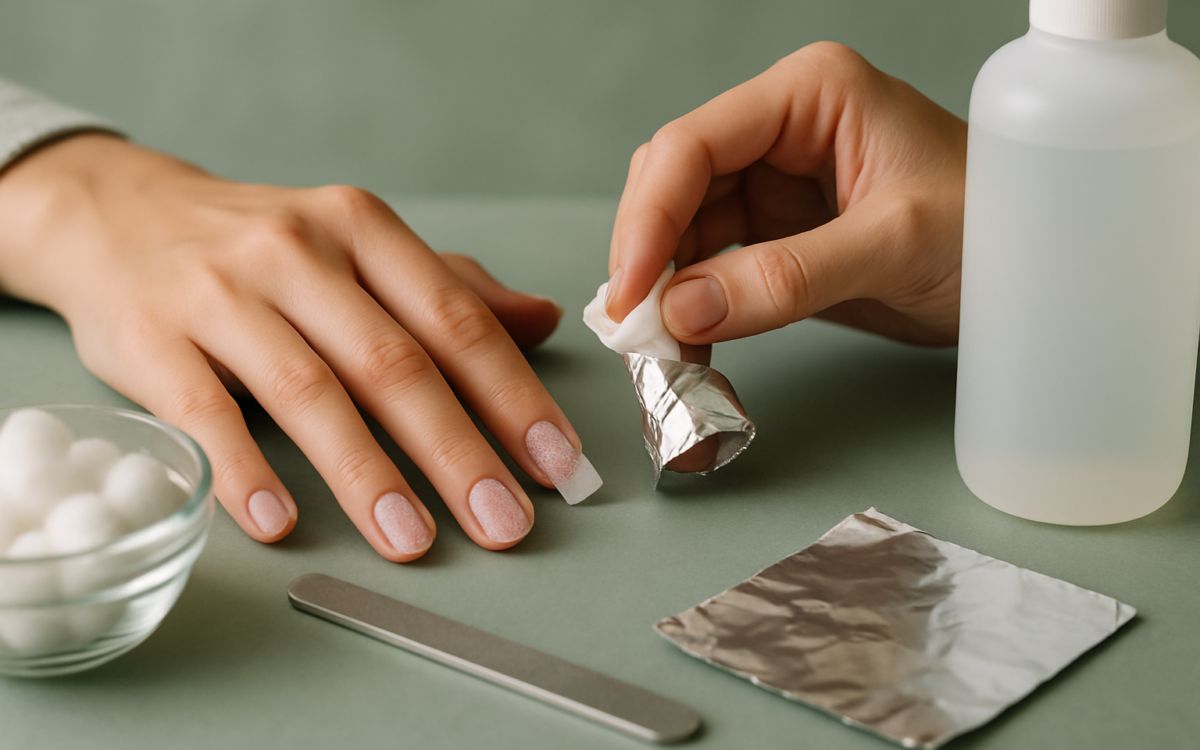
Dip nails have surged in popularity thanks to their durability and glossy finish. However, as chic as they look, eventually, every beautiful mani has to come to an end. If you find yourself wanting to remove your dip nails at home, you can do so safely with a little patience and the right supplies. In this guide, we’ll walk you through the steps to effectively remove dip nails without damaging your natural nails.
Understanding Dip Nails
Before jumping into the removal process, it’s helpful to understand what dip nails are. Typically, dip nails are created using a base coat, a special powder, and a topcoat. The dip powder is mixed into a sticky base solution and layered on the nails to create a hard, durable finish. While these nails can look stunning and last for weeks, those qualities also make their removal a bit challenging.
Gathering Your Supplies
To safely remove dip nails at home, you’ll need a few essential items:
- Acetone (100% is more effective)
- Cotton balls or lint-free pads
- Aluminum foil (cut into small squares)
- Nail file (a coarse one works best)
- Cuticle oil or moisturizer
- Small bowl (optional)
Having everything ready will help streamline the process and make it more efficient.
Preparing for the Removal
Before you begin the removal process, prep your nails. Start by gently filing the top layer of your dip nails to remove the shiny topcoat. This will allow the acetone to penetrate the dip powder more effectively.
A few tips for filing:
- Be gentle to avoid damaging your natural nails.
- Focus only on the top layer; there’s no need to file all the way down to your natural nail.
- Always file in one direction to minimize splits or tears.
After filing, your nails should be rough to the touch, but be careful not to overdo it as this can weaken your nails.
Soaking Off the Dip Nails
The next step involves soaking your nails in acetone. Here’s how to do it:
- Soak a cotton ball (or a lint-free pad) in acetone until it’s saturated but not dripping.
- Place the soaked cotton ball on top of your nail, ensuring it covers the entire surface.
- Wrap the cotton ball-covered nail with aluminum foil, securing it tightly. This traps heat and helps the acetone work more effectively.
- Repeat for all ten nails.
Once all the nails are wrapped, wait about 15-20 minutes. If your dip powder is particularly stubborn, you may need to let it soak a bit longer. Monitor your nails so that you avoid overexposure to acetone, which can dry out your skin and nails.
Gently Removing the Dip Nails
After soaking, it’s time to check on your nails. Unwrap one foil and gently test if the dip powder has started to loosen. If it comes off easily with a gentle push using a cuticle pusher or an orangewood stick, you’re in good shape. If not, re-soak and check after another few minutes.
To remove:
- Start at the edge of the nail and gently slide the cuticle pusher underneath the dip powder.
- If it doesn’t come off easily, do not force it; simply re-soak and try again.
- Once the dip powder is removed, take your time to ensure you’re not peeling off any of your natural nail.
Repeat this process for all your nails. Be sure to rinse your nails afterward to remove any acetone residue.
Aftercare for Healthy Nails
Once you’ve successfully removed your dip nails, it’s essential to care for your natural nails and surrounding skin. Acetone can be quite drying, so moisturization is key:
- Apply cuticle oil generously to nourish your nails and enhance their health.
- Use hand cream to hydrate your skin, particularly around the nails.
- Consider allowing some time between applications of dip powder (or any product) to give your nails a chance to breathe.
You may also want to do a little light buffing to smooth any uneven spots on your natural nails, but steer clear of over-buffing, which can thin your nails.
When to See a Doctor
If you experience excessive pain, bleeding, or signs of infection during or after the removal process, such as pus or severe redness, consult a healthcare professional. It’s important to address any potential issues early on. For further information on nail health, the National Institutes of Health offers valuable resources worth exploring.
Conclusion
Removing dip nails at home can be a simple and cost-effective process when done carefully. By following the steps outlined, you can maintain the health of your natural nails while saying goodbye to your beautiful dip manicure. Just remember to take your time and prioritize nail care both during and after the removal process. Happy nail care!
